HOW TO USE AN OBD2 SCAN TOOL
The On-Board Diagnostic System, also called OBD2, is the second generation and is used in vehicles made after 1996. The purpose of an OBD2 scanner is to retrieve data from the engine control module and display it on a screen for us to read. The ECM on the other hand, continuously monitors various sensors and systems within the vehicle and generates Diagnostic Trouble Codes (DTCs) when it detects a problem. This is typically when the engine light comes on to let us know that something is wrong.
Get the OBD2 Scanner here.
STEP 1
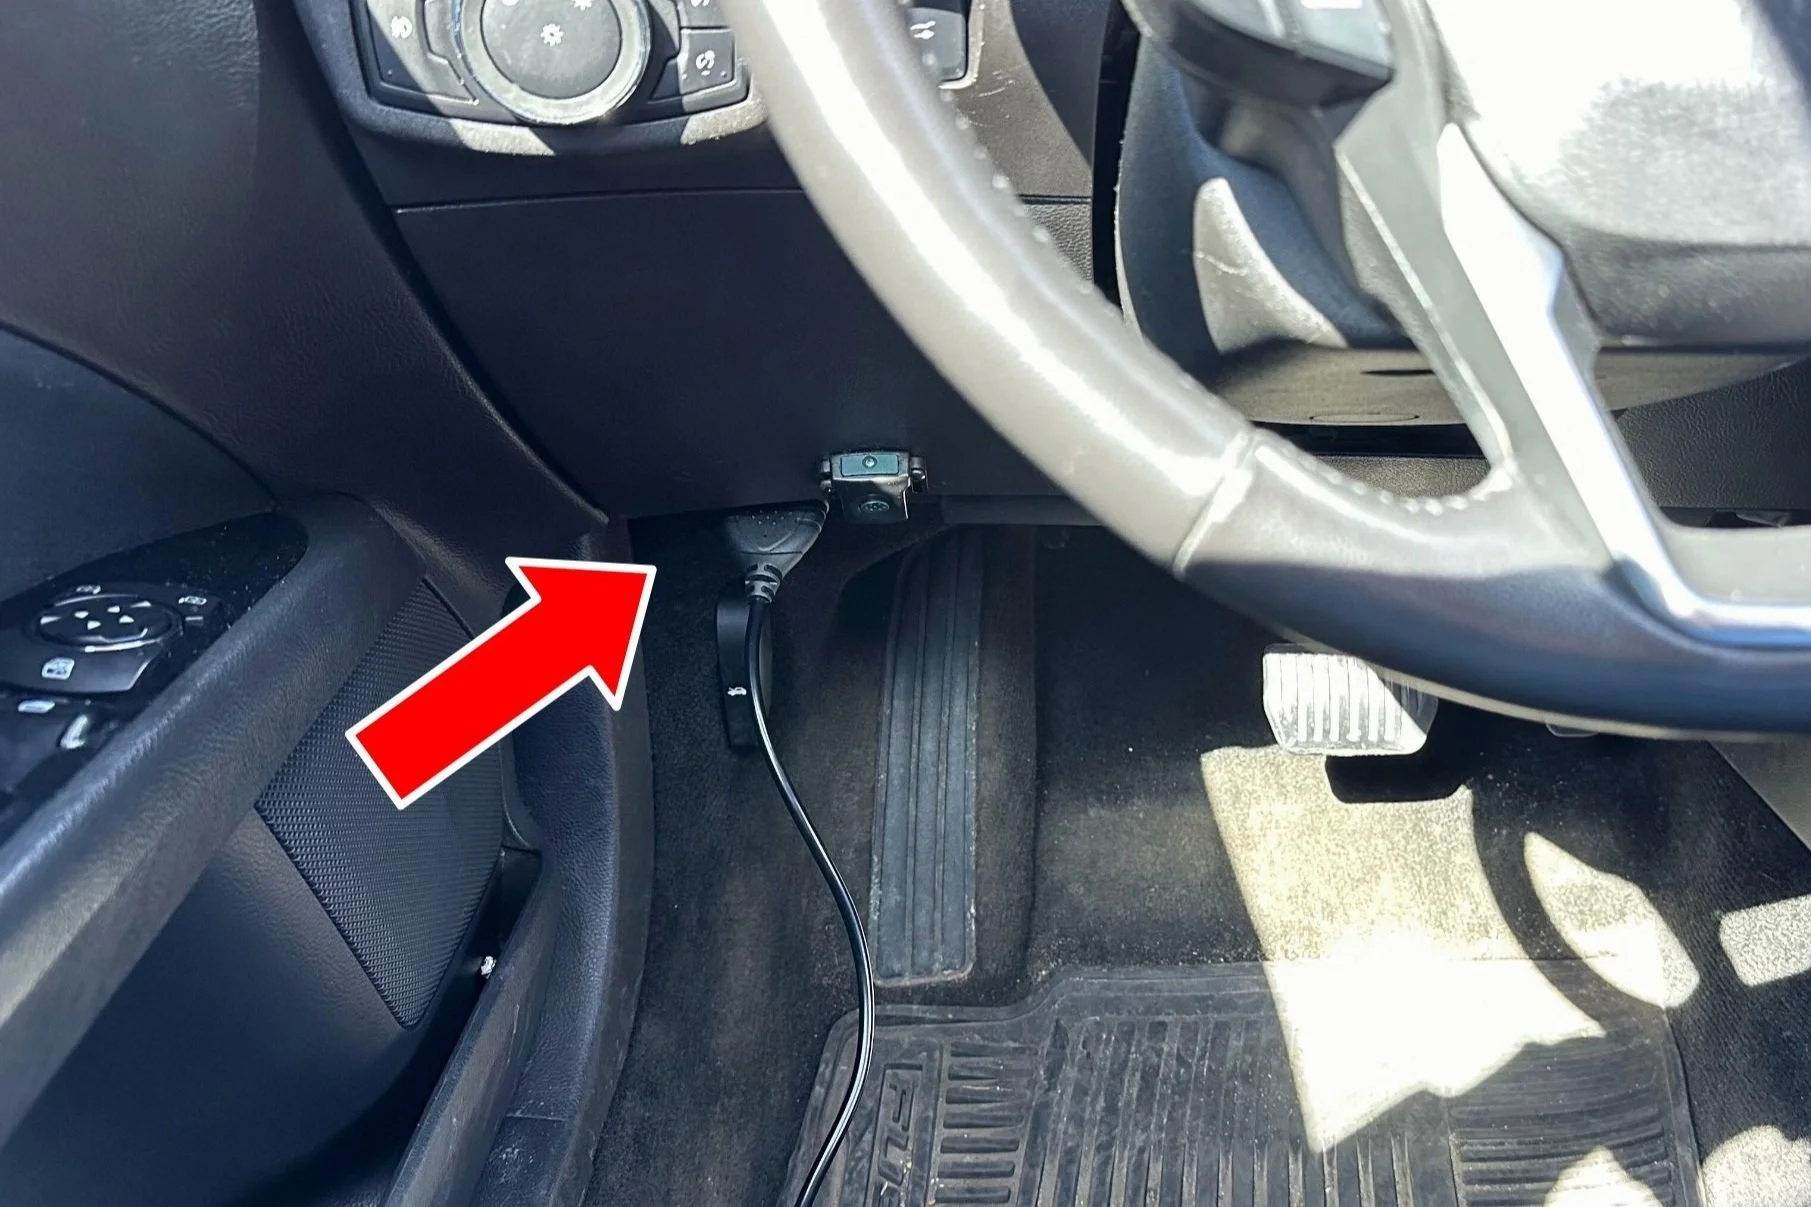
The first thing you need to do is to plug your scanner into the OBD2 port. For most vehicles, it’s going to be located on the driver’s side of the vehicle, underneath the steering wheel.
STEP 2
The second step is to either turn the keys to the “on” position, or simply start the car. Both will power on the engine control module to be able to communicate with the scanner.
how to navigate your obd2 scanner
read codes
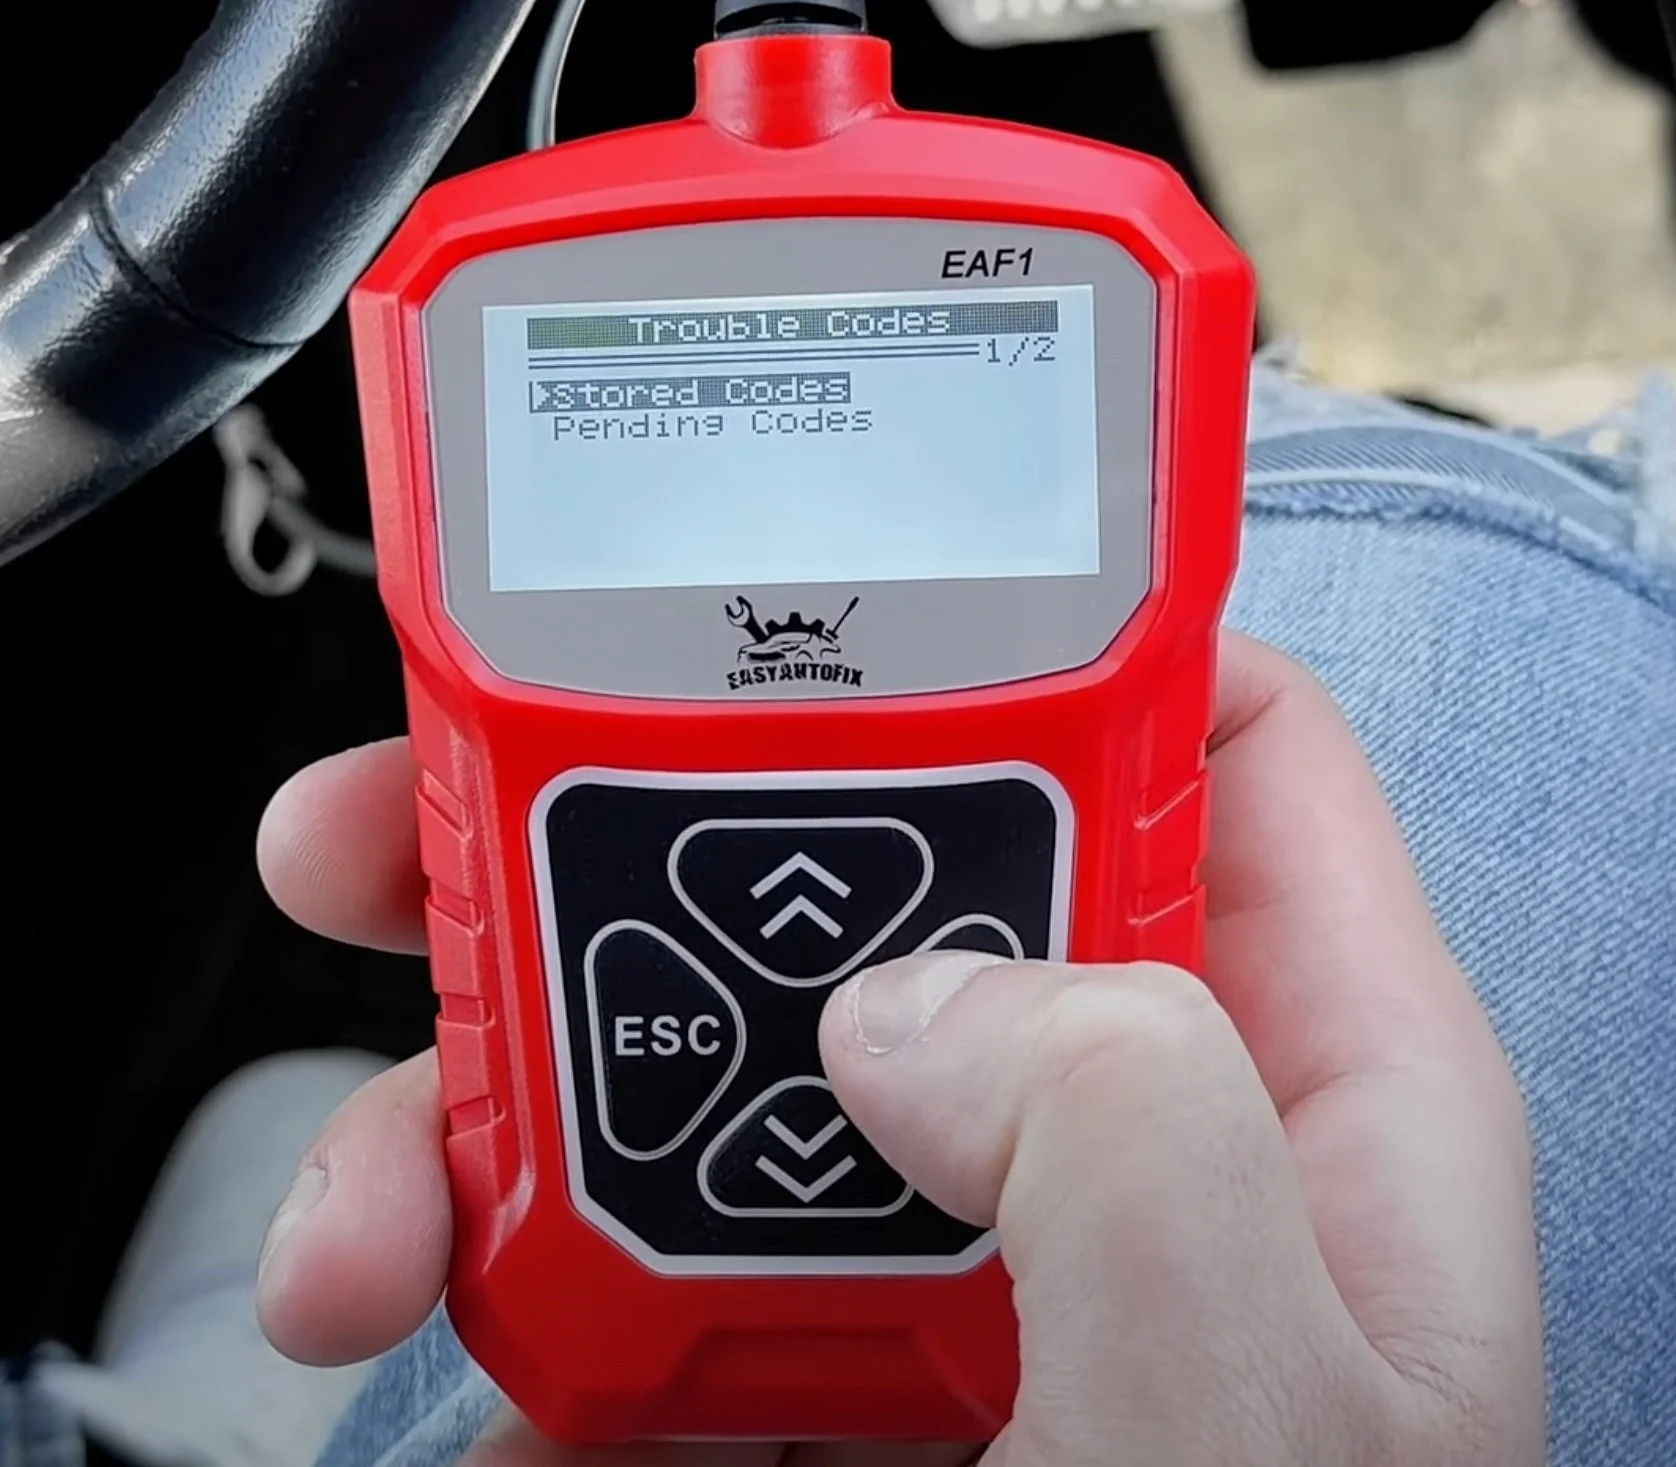
Let’s start with diagnostics. Under “Read Codes”, you’ll have stored and pending codes. “Stored codes” means the engine light is on and the ECM has confirmed the code. “Pending codes” means the ECM has detected an issue but has not confirmed it, kind of like an intermittent problem.
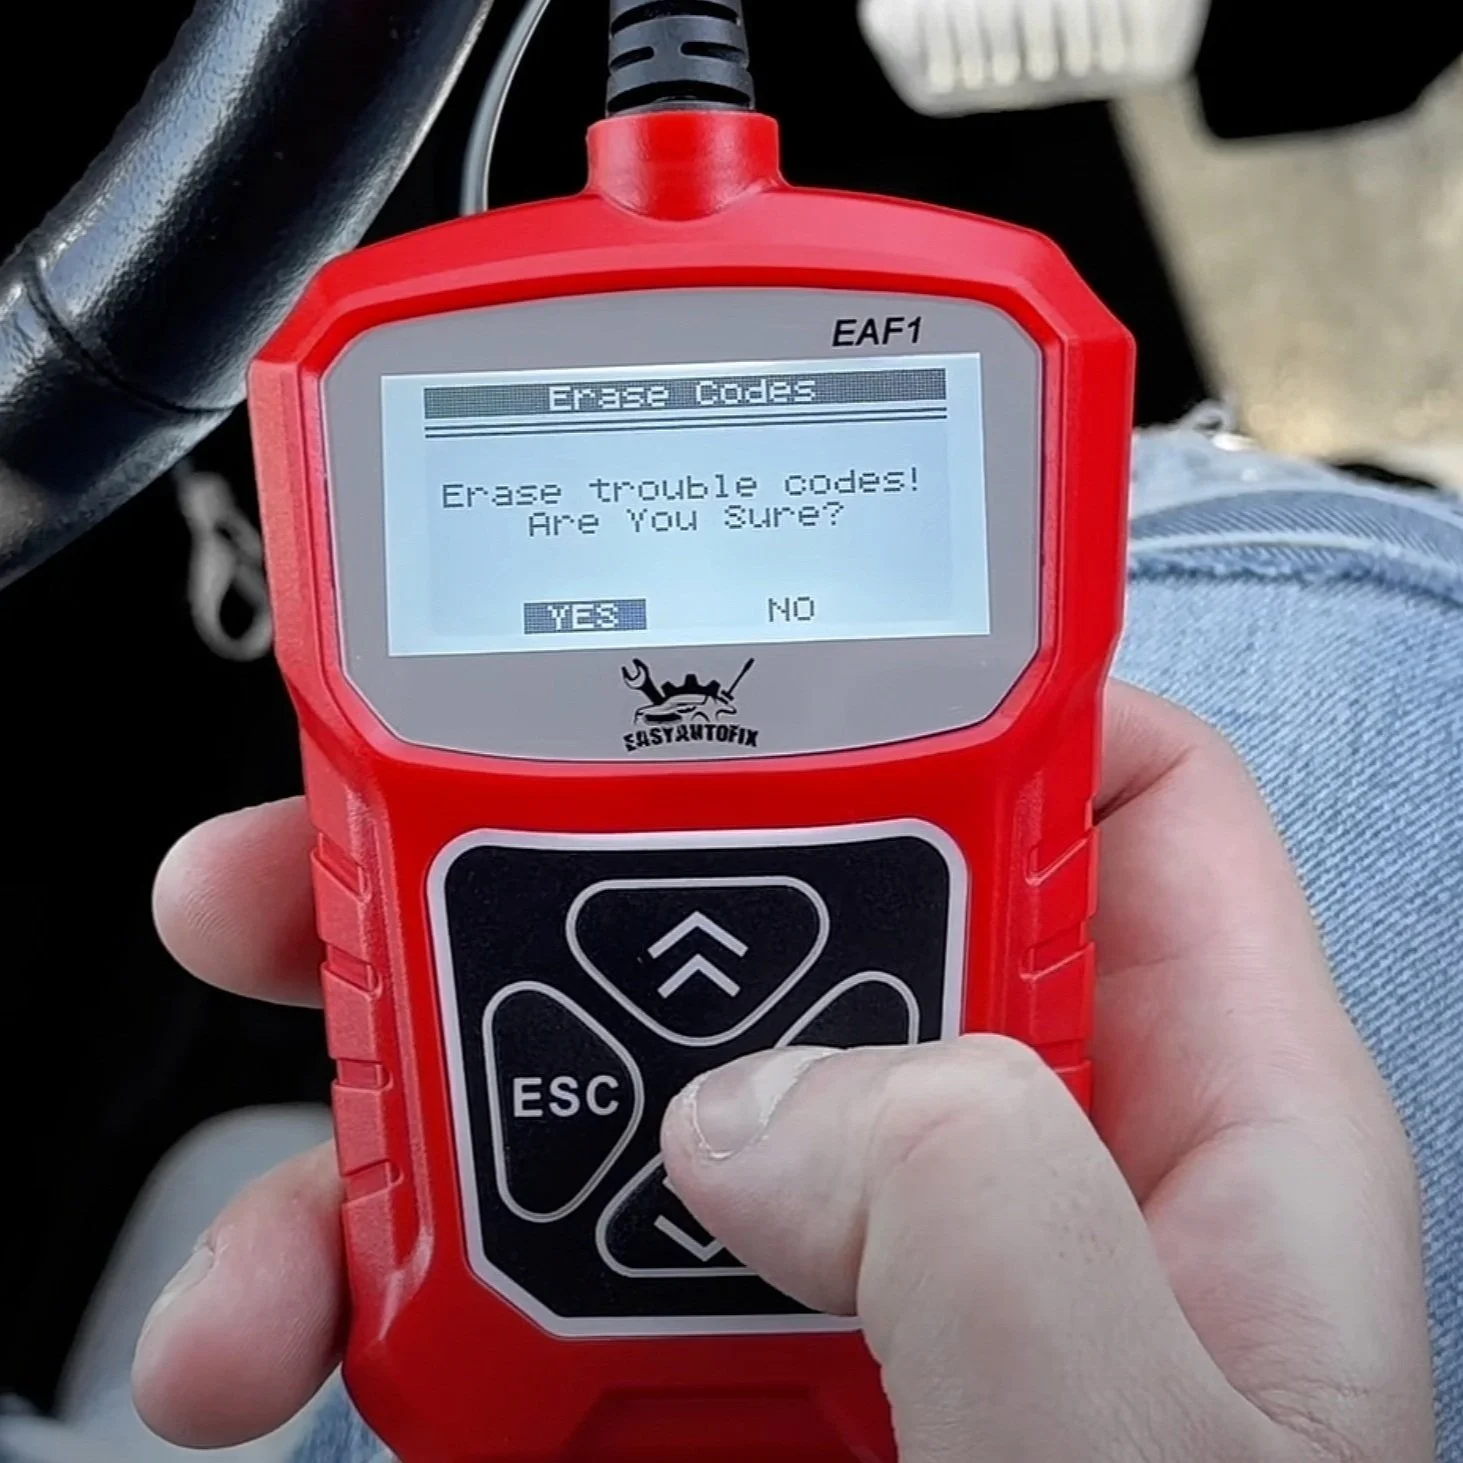
If you want to get rid of your engine light just click on “Erase Codes” and then click “Yes”. Bear in mind, that if you haven’t fixed the problem, the ECM will trigger the engine light again and the same code will reappear.
live data
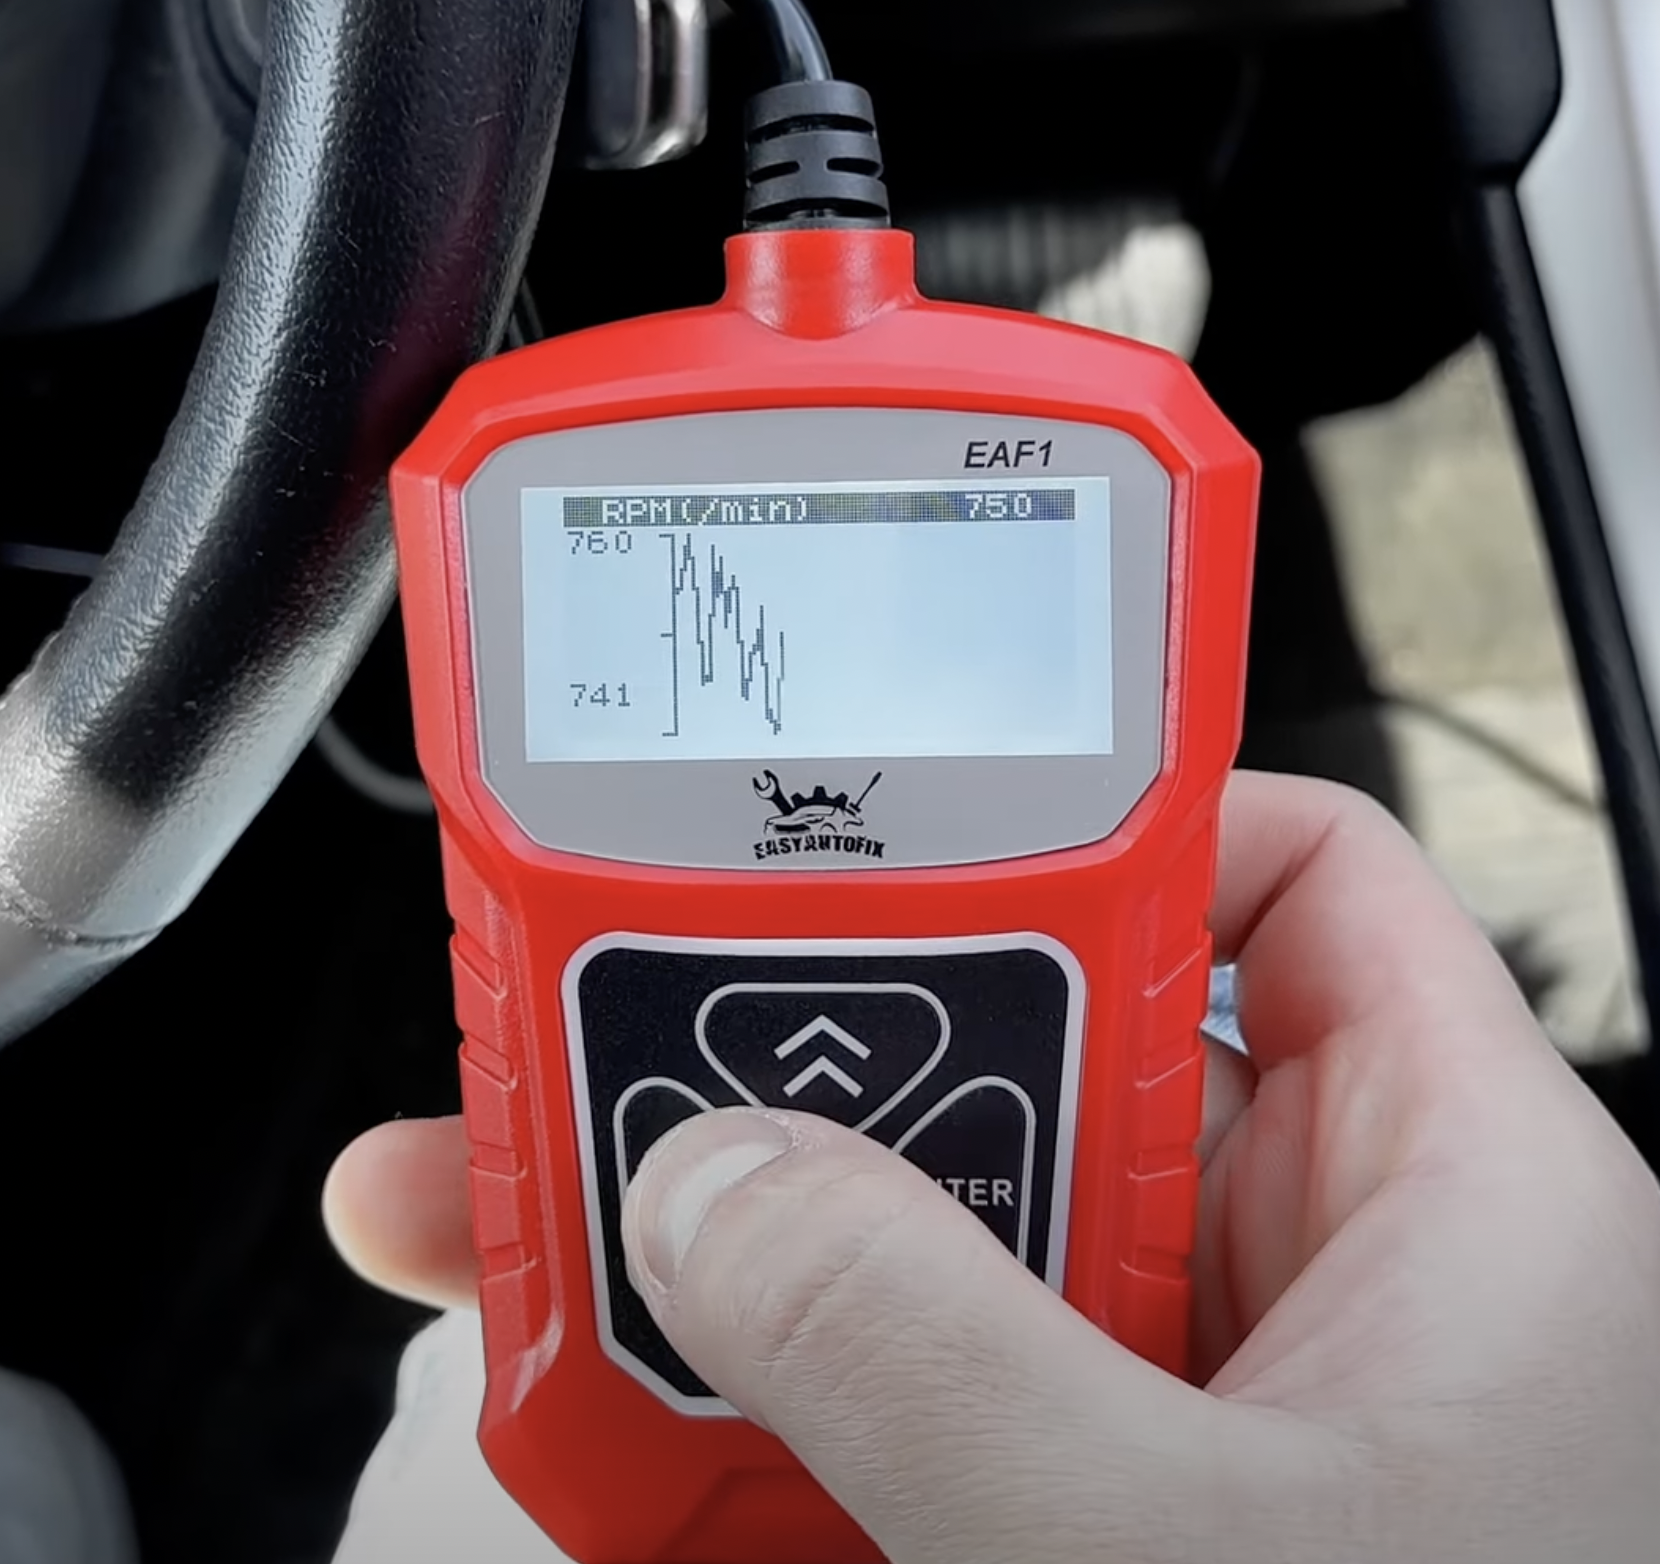
Another great feature of this scanner is live data. It offers real-time insights into different parameters and sensors in the vehicle, making it easy to diagnose intermittent issues. It also allows you to observe live graphing, which is helpful. In addition, it allows you to record and save data sets in up to six different locations.
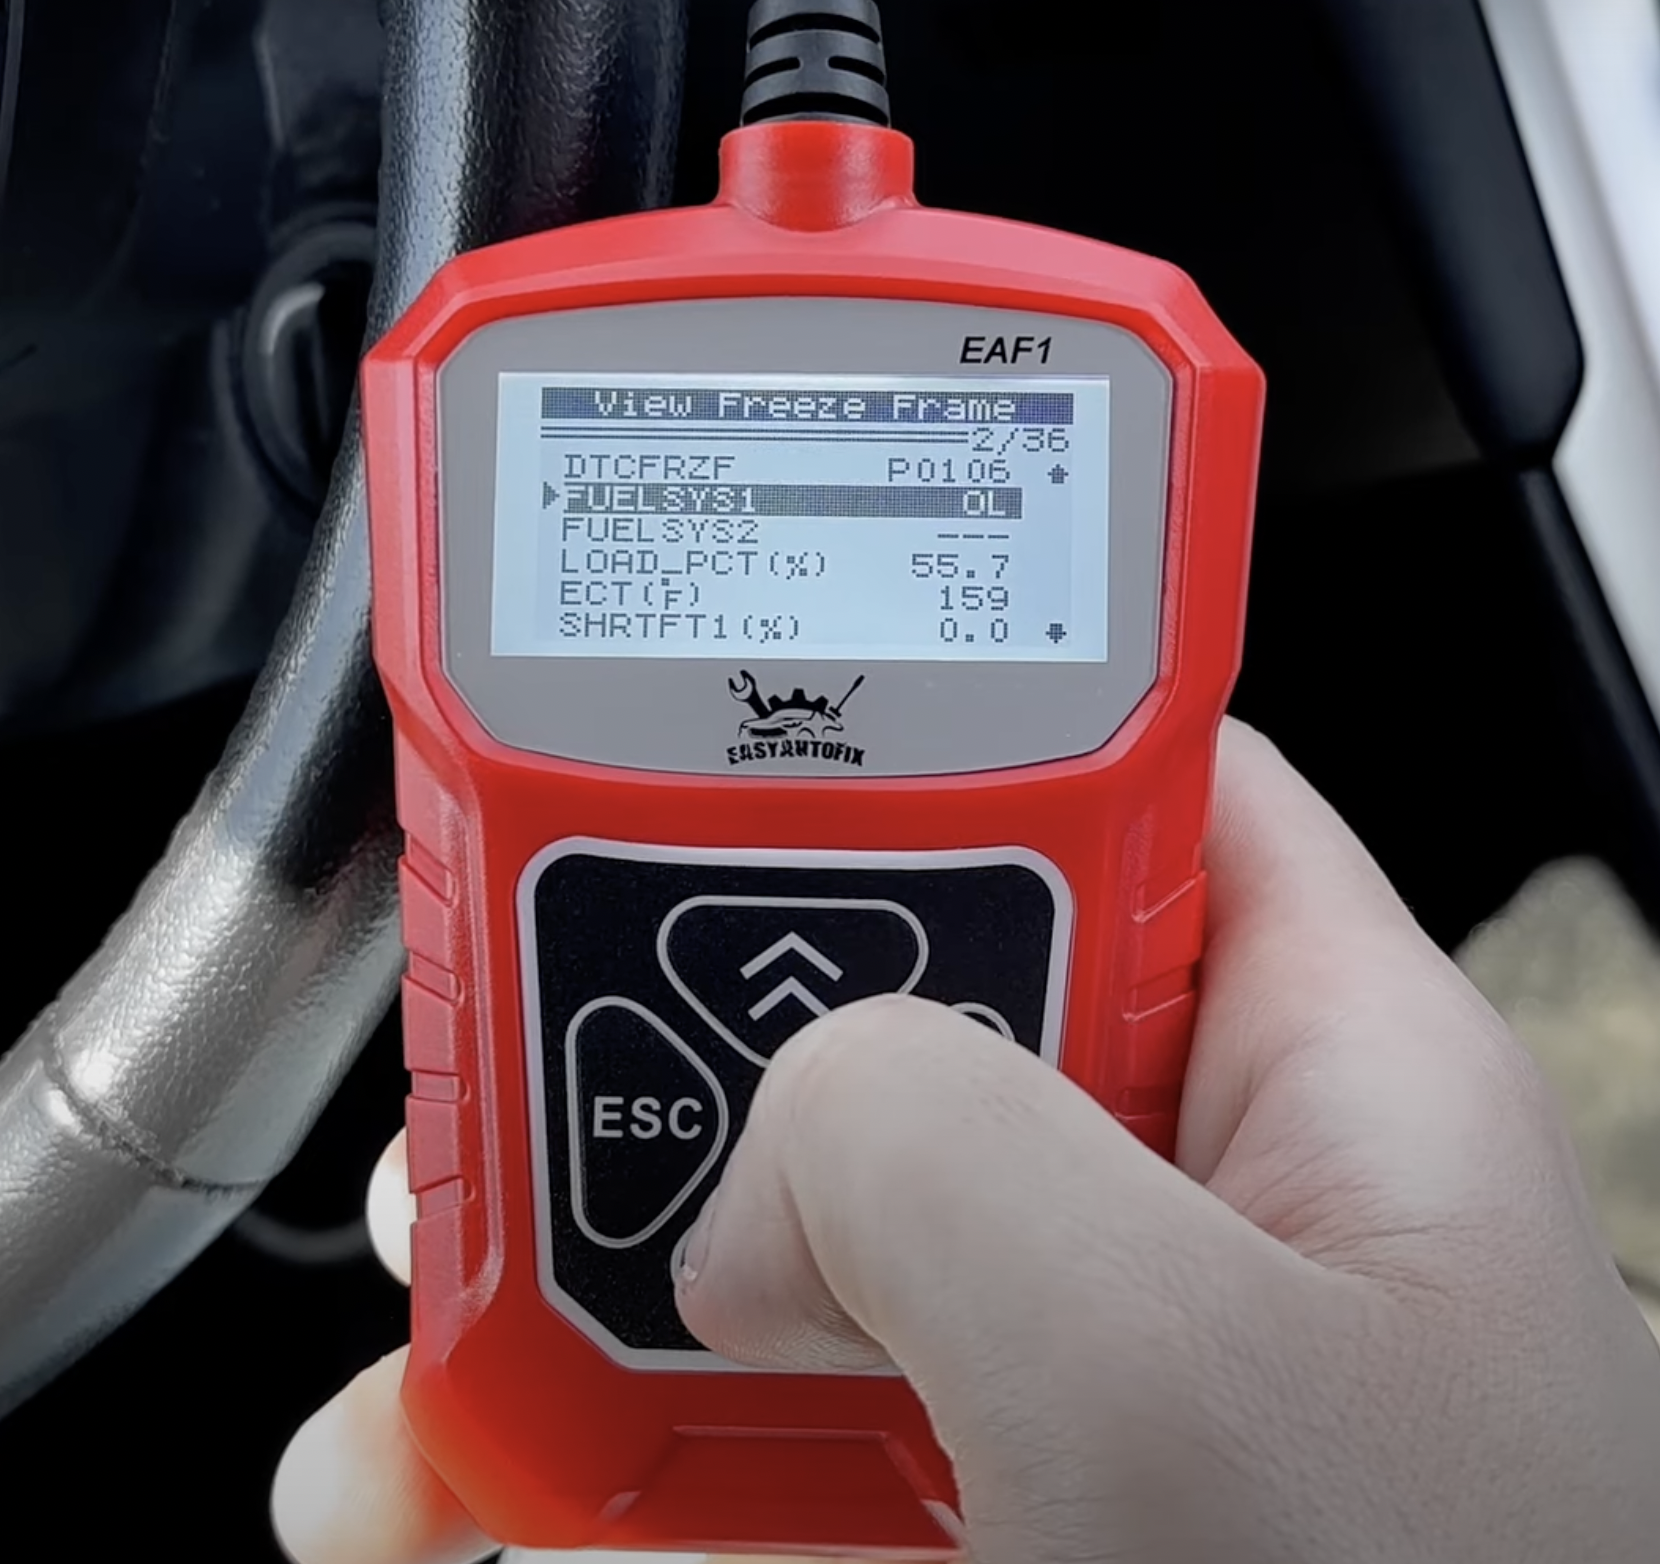
Freeze-frame
Freeze-frame captures a snapshot of the data at the exact moment the ECM triggers the engine light. It's super helpful for diagnosing issues, as it allows you to see exactly what was happening at that specific time.
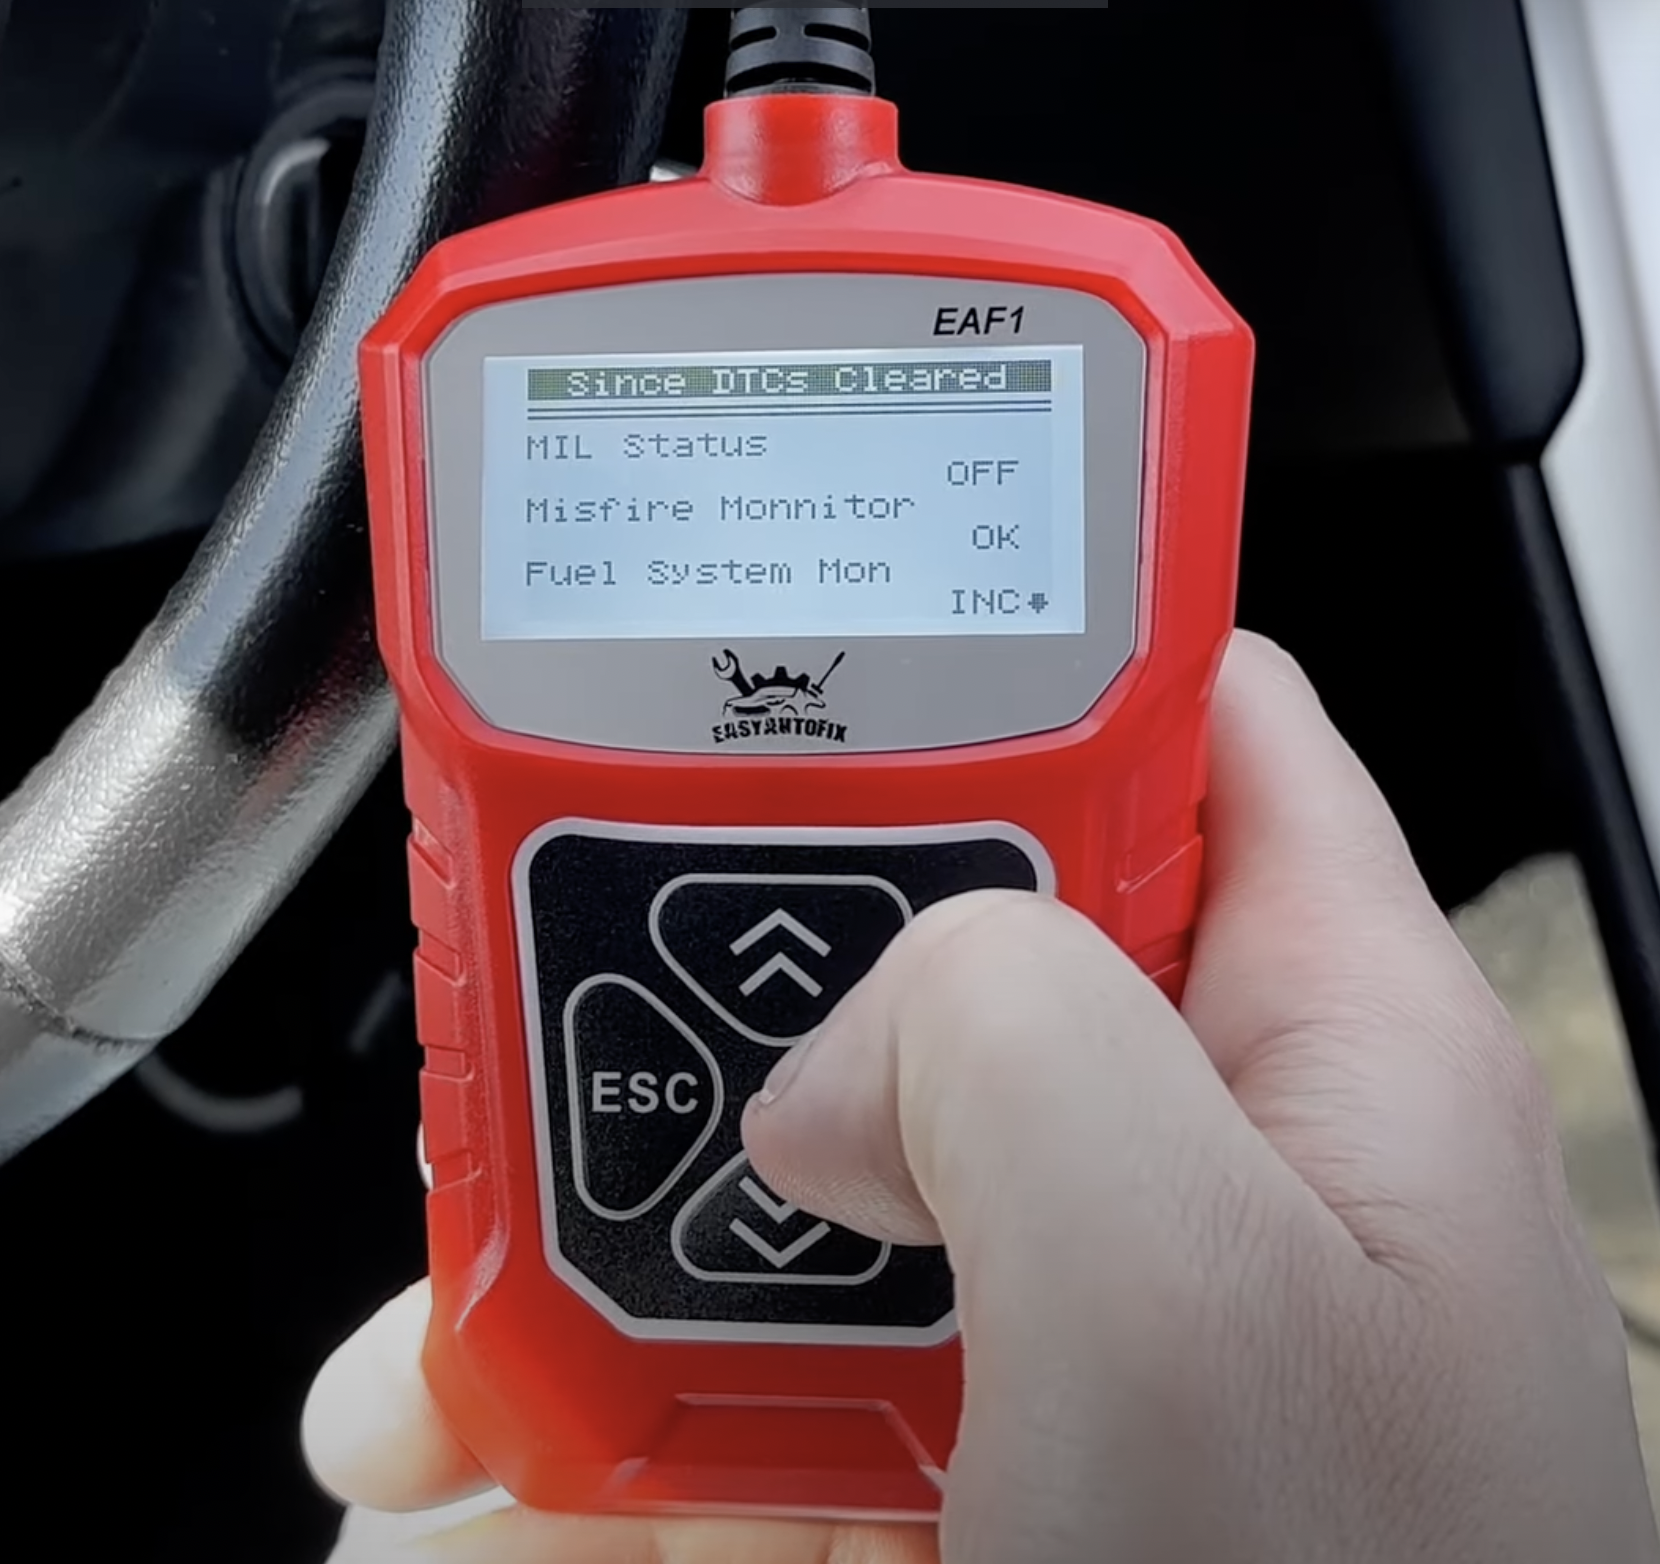
inspection and maintenance readiness
The inspection and maintenance readiness feature is great because it helps your vehicle meet emissions standards. It helps to check if all emissions control components have completed self-tests. However, it's important to note that not all vehicles support every monitor, which may lead to 'not applicable' readings.
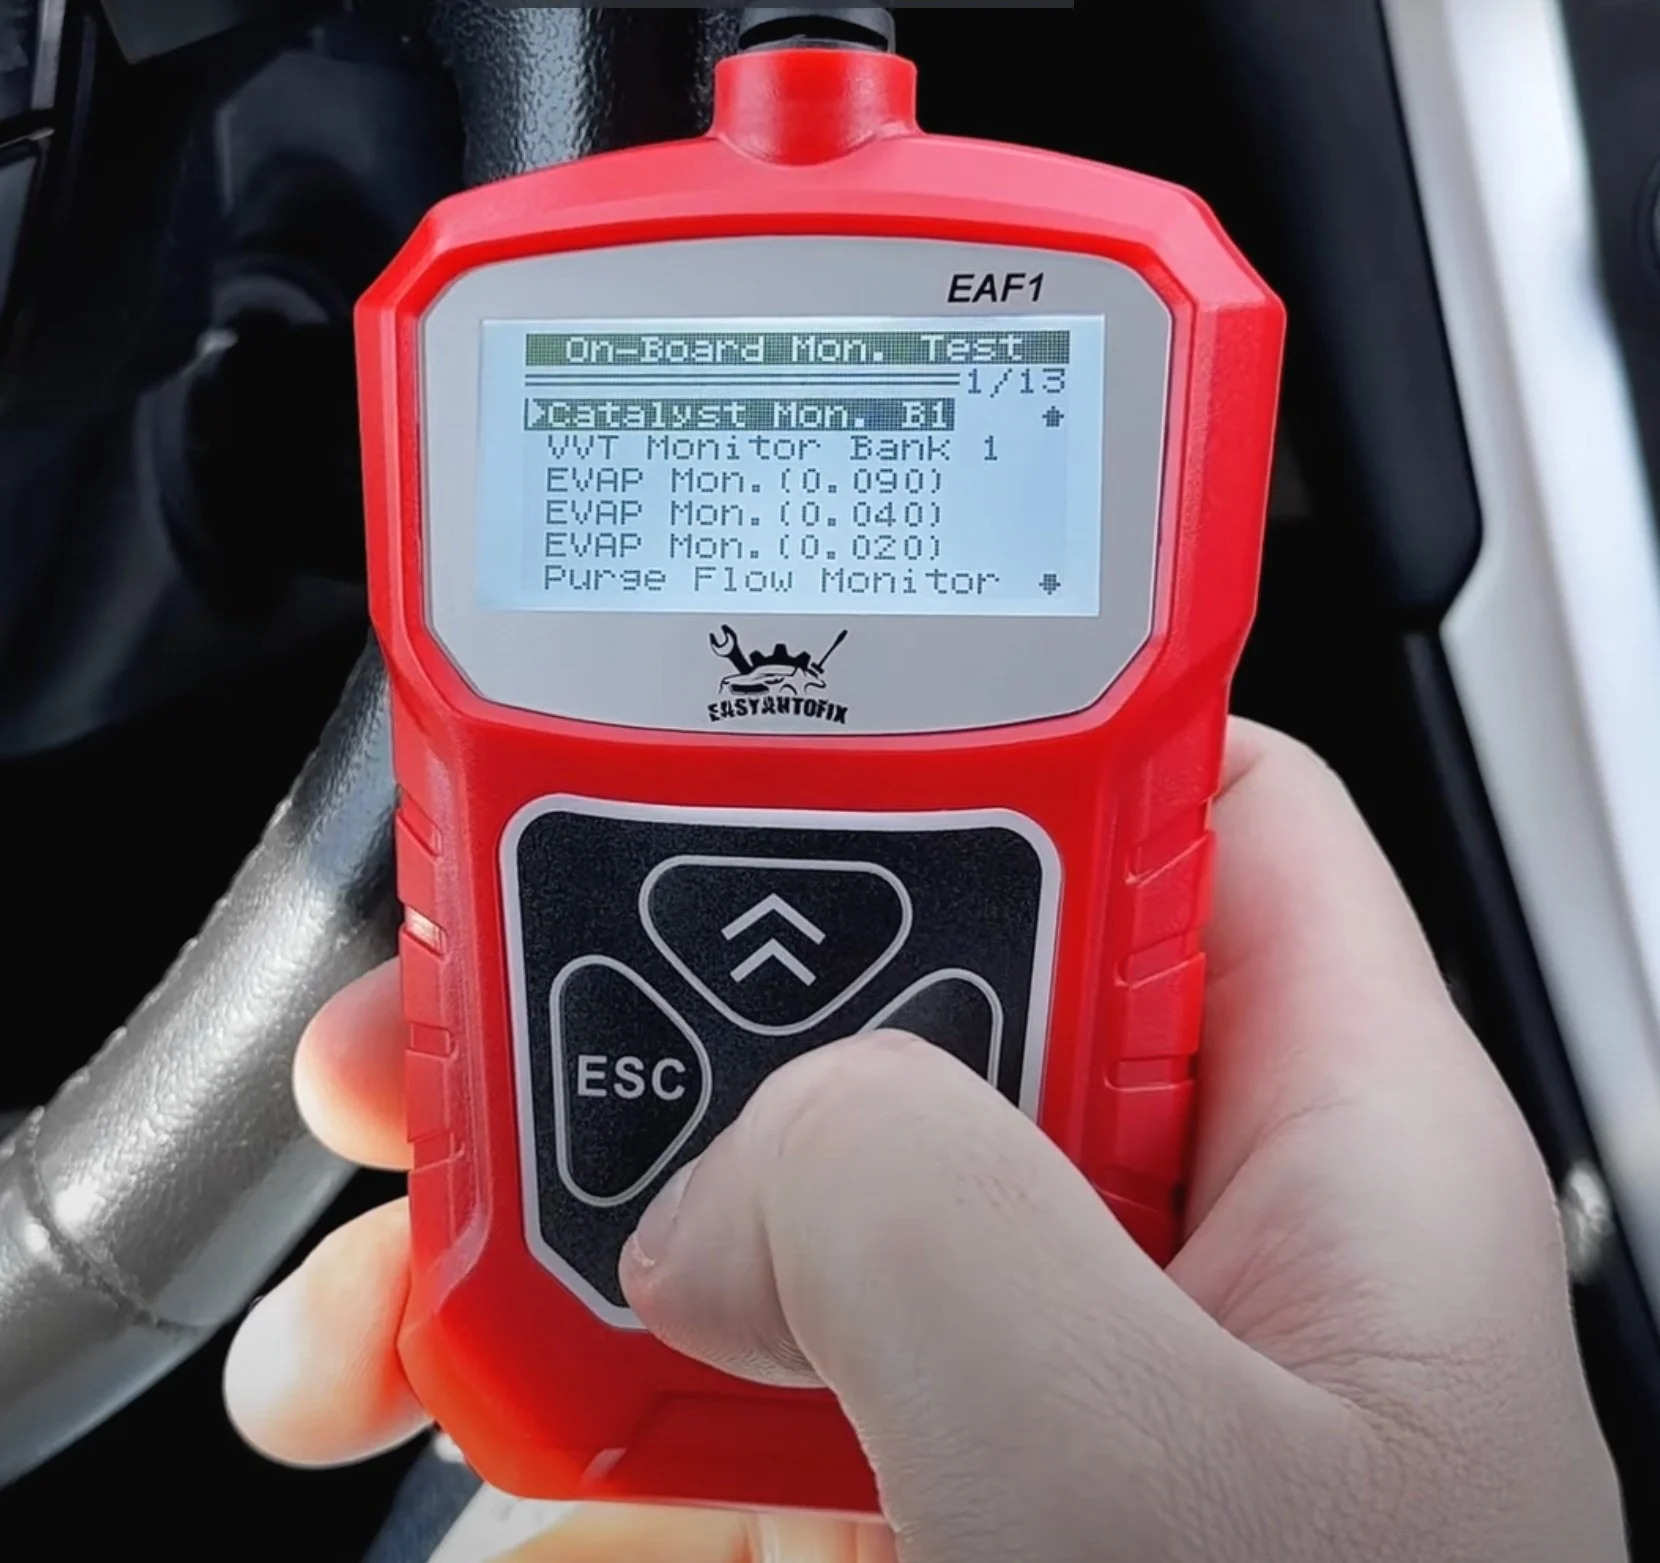
onboard monitor test
The next feature is an onboard monitor test. It’s pretty neat because it lets you check out a bunch of stuff in your vehicle, covering up to 13 different systems. For example, if you're suspecting some misfires in one of your cylinders, this test can help you pinpoint exactly which cylinder is misfiring.
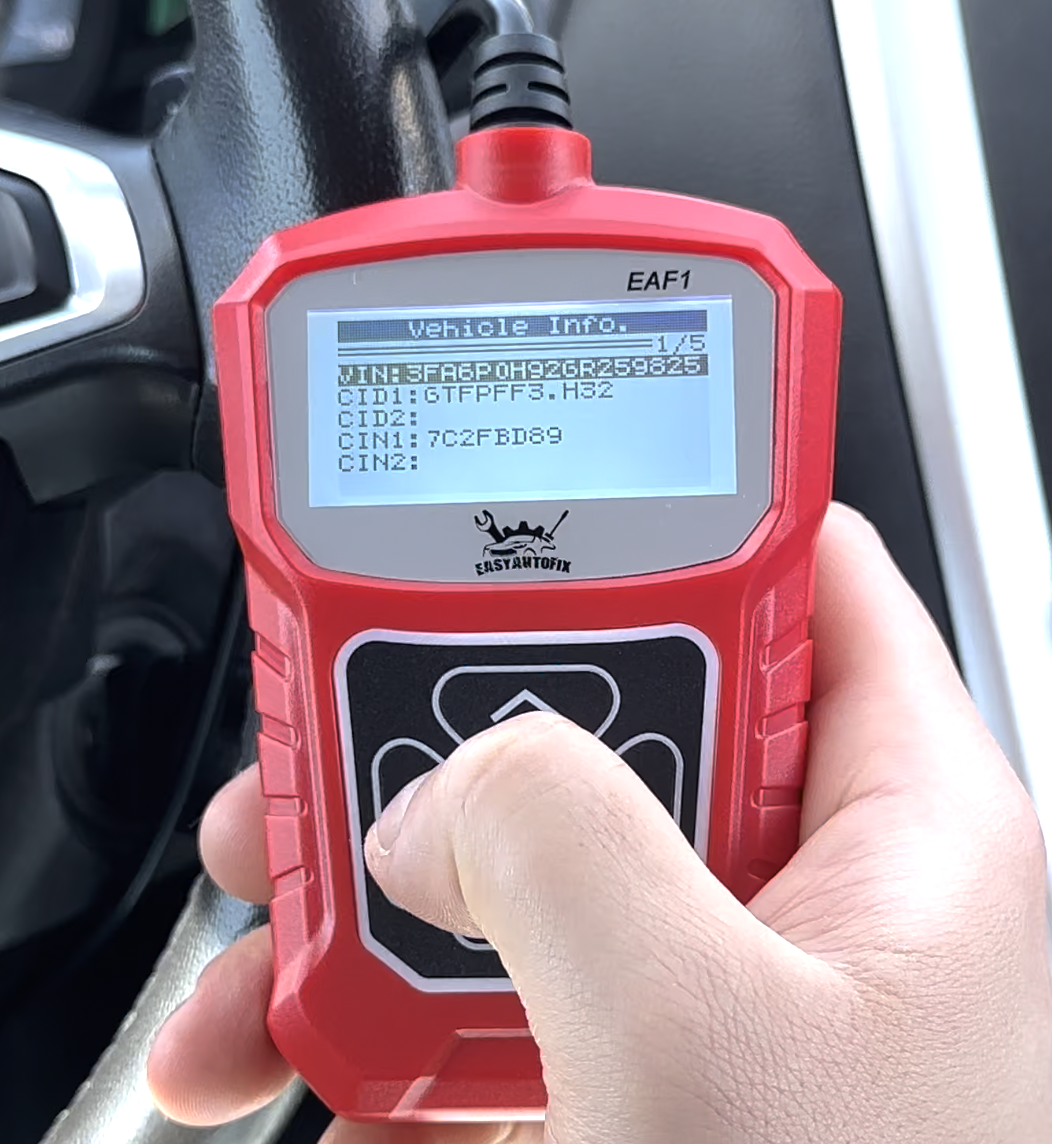
Vehicle info
Lastly, another great feature is vehicle info. If you need your VIN you can access it right from this scanner.
Check out my YouTube video!
Disclaimer: Some links in this article may be affiliate links.


